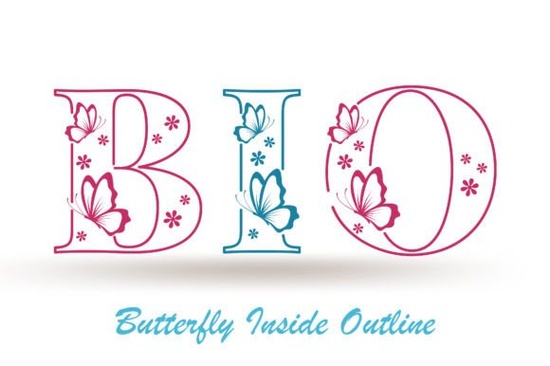
If you are looking for a typeface that blends elegance with a touch of whimsy, the Butterfly Inside Font is a fantastic choice for your next project. This decorative typeface features beautiful outline details and lovely ornaments that give it a highly authentic, hand-crafted feel. Whether you are designing greeting cards, creating social media graphics, or working on custom stationery, this style brings a delicate charm that instantly catches the eye.
What makes this typeface stand out for crafters?
When browsing through various decorative typefaces, it can be hard to find one that balances intricate details with everyday readability. This specific design solves that problem by using a clean outline structure paired with subtle floral and butterfly motifs. The ornaments are integrated directly into the letterforms, meaning you do not have to spend extra time adding separate graphic elements. For print-on-demand sellers, this means faster production times and a highly professional finish on products like wedding invitations, journal covers, and boutique packaging.
How can I use it for social media and branding?
Small business owners and digital creators often need typography that stands out in a crowded feed. Because of its eye-catching silhouette, this typeface works beautifully for Instagram quotes, Pinterest pins, and YouTube thumbnails. If you want to pair it with a secondary font for body text, you might also want to explore the New Moon style to create a cohesive, romantic aesthetic for your brand. Using a strong primary display font alongside a simpler secondary option ensures your captions remain legible while your main titles grab attention.
What software do I need to work with these files?
Most crafters and hobbyists want to know if a new font will work with their favorite design tools. This typeface typically comes in standard formats like OTF and TTF, which are universally compatible across most major platforms.
- Adobe Illustrator and Photoshop: Perfect for creating complex layouts, custom logos, and detailed stationery art where precision matters.
- Canva: You can easily upload the file to use in your social media templates, digital planners, and client presentations.
- Cricut Design Space and Silhouette Studio: Ideal for cutting vinyl decals, making custom t-shirts, and crafting physical greeting cards for local markets.
Are there any tips for getting the best results when cutting or printing?
Working with highly detailed, ornamental typefaces requires a bit of care, especially when moving from a digital screen to a physical product. The thin lines and intricate cutouts can sometimes be tricky to cut with a vinyl plotter or print on low-quality paper.
- Adjust your blade settings: If you are cutting vinyl, use a fine-point blade and ensure your material is firmly adhered to the cutting mat to prevent shifting.
- Weed carefully: Take your time removing the excess vinyl from the small inner spaces of the letters to keep the design intact.
- Choose the right paper: For printed stationery, opt for a heavier cardstock (at least 80 lb text weight) to prevent the ink from bleeding and to give the piece a premium feel.
Before you start your next project, run through this quick checklist to ensure everything goes smoothly:
- Check the license agreement to confirm commercial use is allowed for your specific project.
- Install the font on your computer and restart your design software so it registers properly.
- Print a small test page on your chosen paper to check the line thickness and detail clarity.
- If cutting vinyl, do a small test cut to adjust your machine's pressure and speed settings.
Take a few minutes to sketch out your layout before applying the final typography, ensuring the ornamental details have enough breathing room to shine on your final product.
Get Started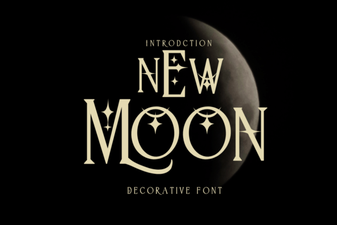 New Moon Font: a Modern Creative Typography Tool
 Good Vibes Only Font Duo for Creative Projects
 Find the Perfect Font for Your Lucky Project
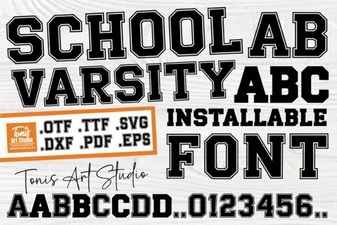 Design Your Team Spirit with a Varsity Font
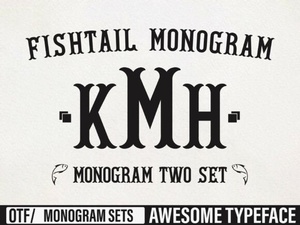 Fishtail Monogram Fonts for Creative Projects
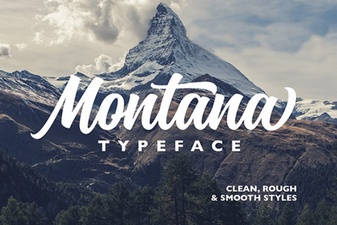 The Montana Font: Creative Uses for Your Design Projects